What if you’re working from home, managing multiple online accounts, browsing restricted websites, or trying to maintain your privacy. You know using proxy servers to operate with all of this, but you hit a roadblock — the apps you use don’t support proxies. Frustrating, right?
This is where Proxifier comes in. It enables support working through proxy for apps that don’t natively have it, giving you the control and privacy you need. This guide will show you how to set up Proxifier and enhance your online experience.
However, note that Proxifier doesn’t provide proxies itself—you’ll need to source proxies from a reliable provider.
Step-by-Step Guide to Setting Up Proxies with Proxifier
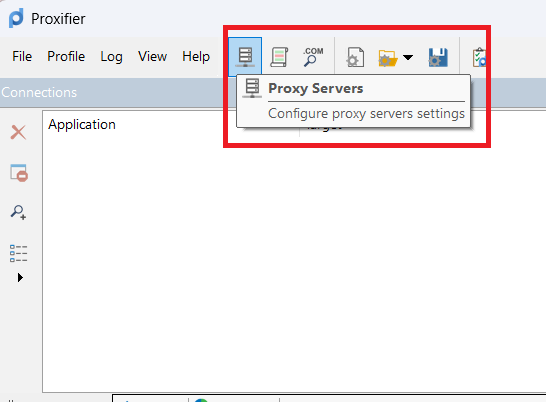
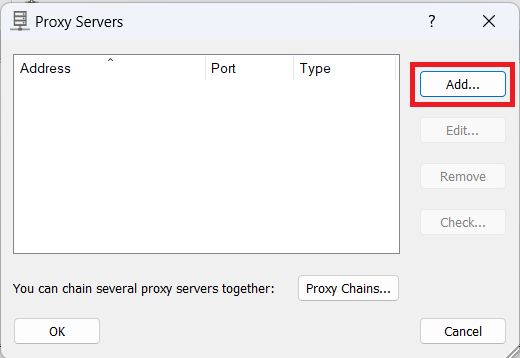
Let’s walk through how to set up a proxy server using Proxifier.
Step 1: Download Proxifier
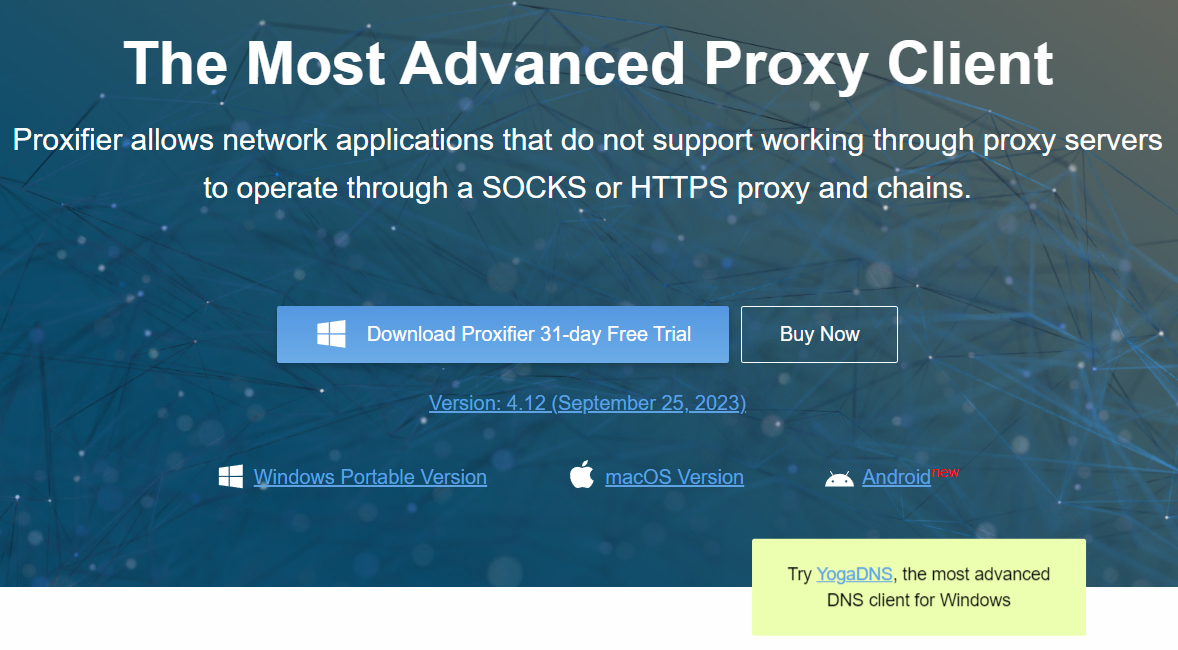
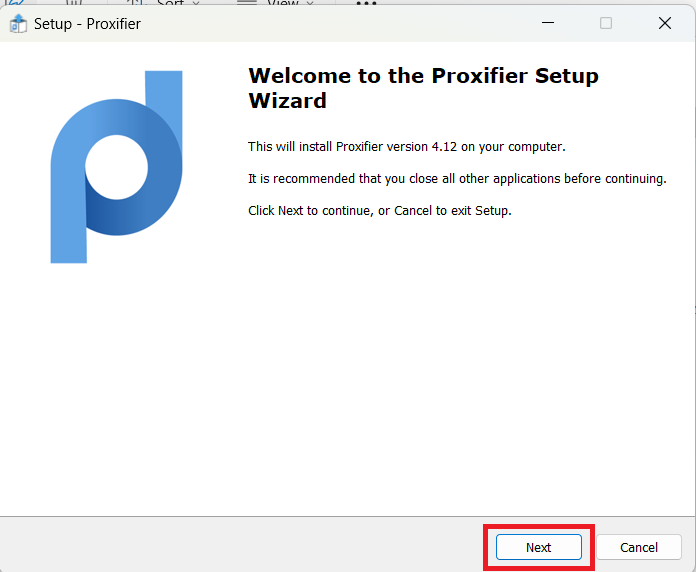
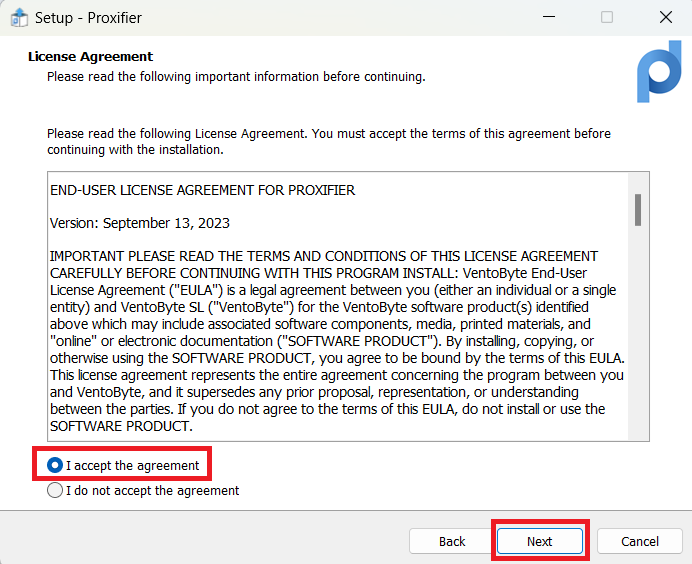
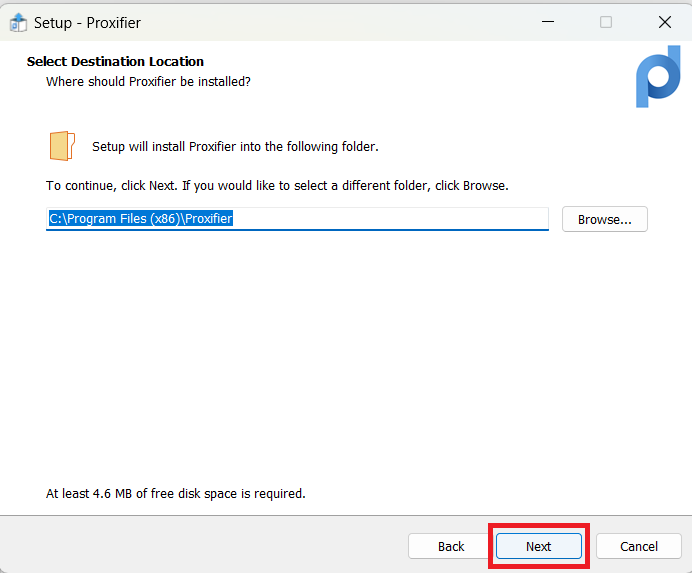
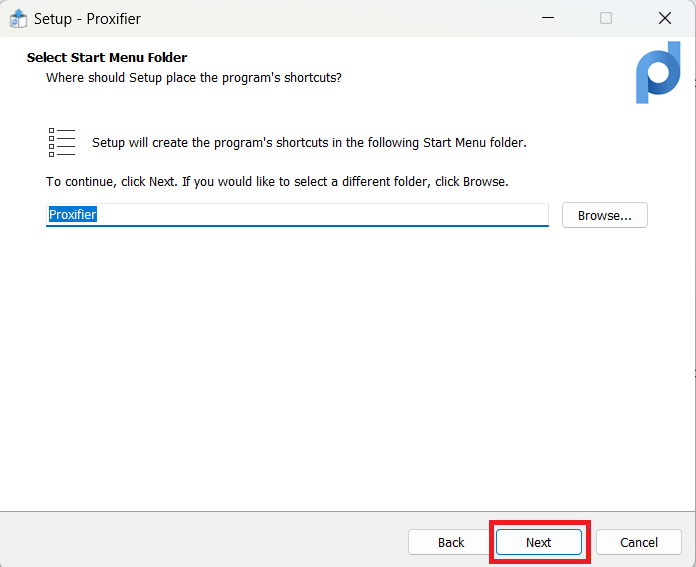
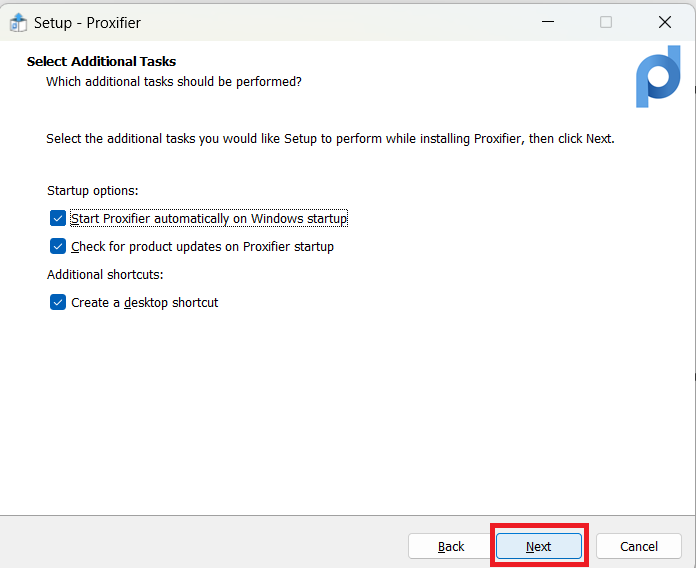
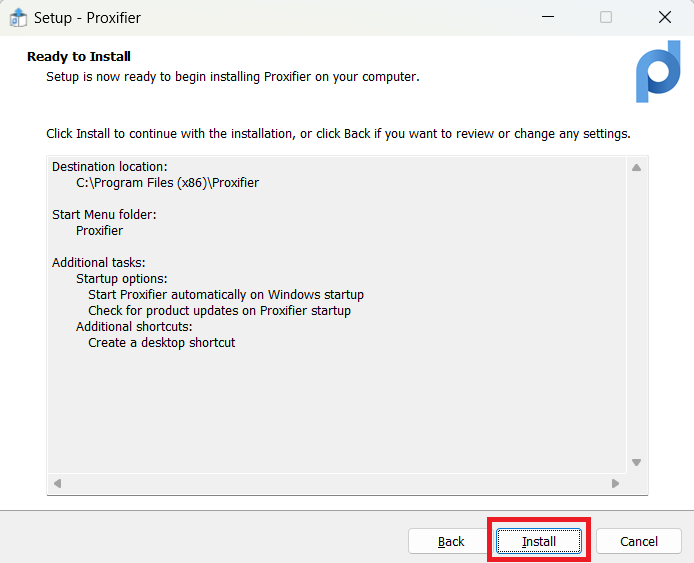
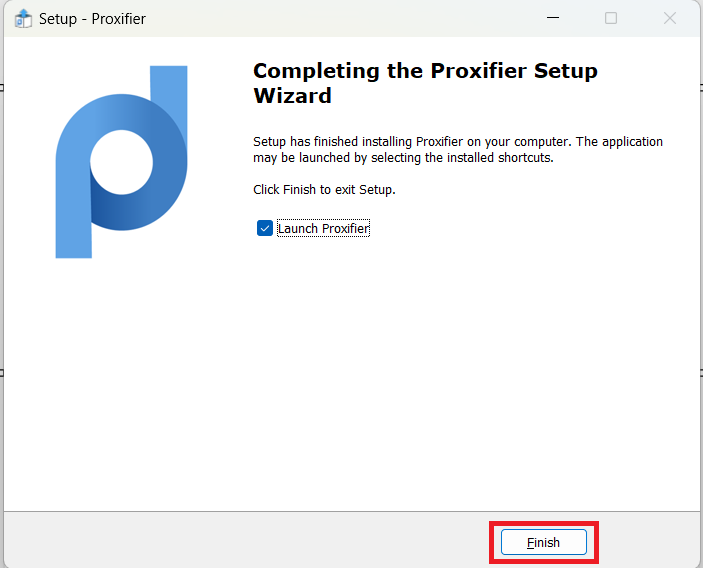
Visit their website to download Proxifier. You can try the 31-day Free Trial or purchase it directly. Proxifier is available for Windows (Portable Version), macOS, and Android. Choose the version for your device and install it.
