geonode logo

Proxy SwitchyOmega: An Essential Tool for Managing Multiple Proxies

Learn how Proxy SwitchyOmega makes managing multiple proxies easy and improves your online privacy with our simple step-by-step guide.

Carl Gamutan

by Carl Gamutan

Publishing Date: Septermber 23, 2024


Introduction

Let’s say a local business owner is working on several online projects, from managing social media accounts to scraping data for research. The need to switch between different proxies to stay anonymous, avoid getting blocked, and ensure security is very important. But manually changing proxy settings every time is time-consuming and frustrating. This is where SwitchyOmega becomes handy.

In this guide, we’ll explain Proxy SwitchyOmega and show how it makes managing proxies easier while improving your online experience.

The Power of Proxy SwitchyOmega

Here are some of its advantages:

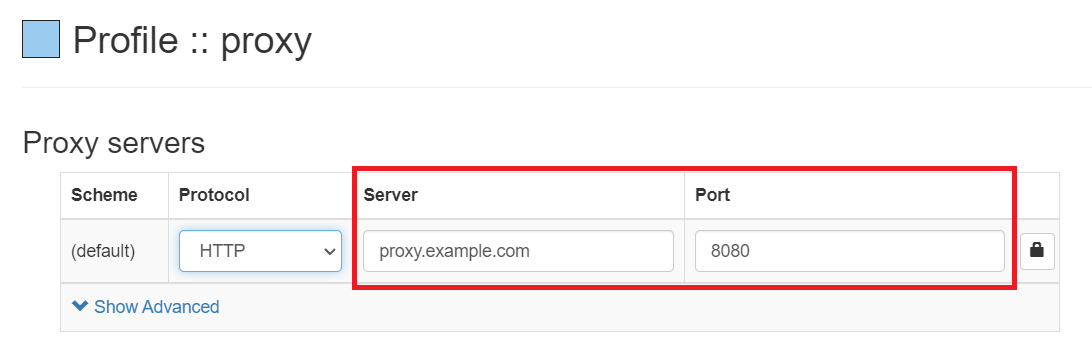
User-Friendly Interface

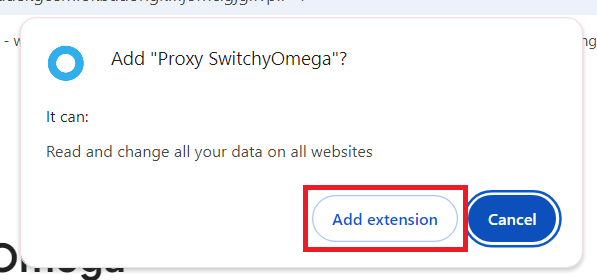
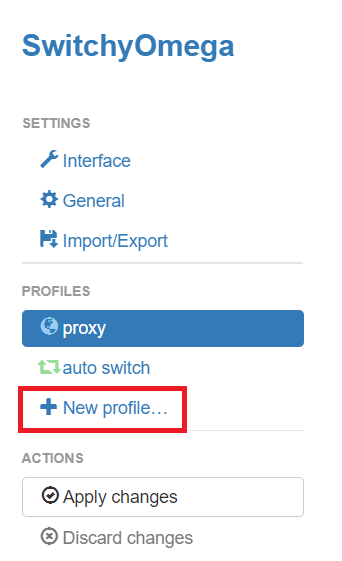
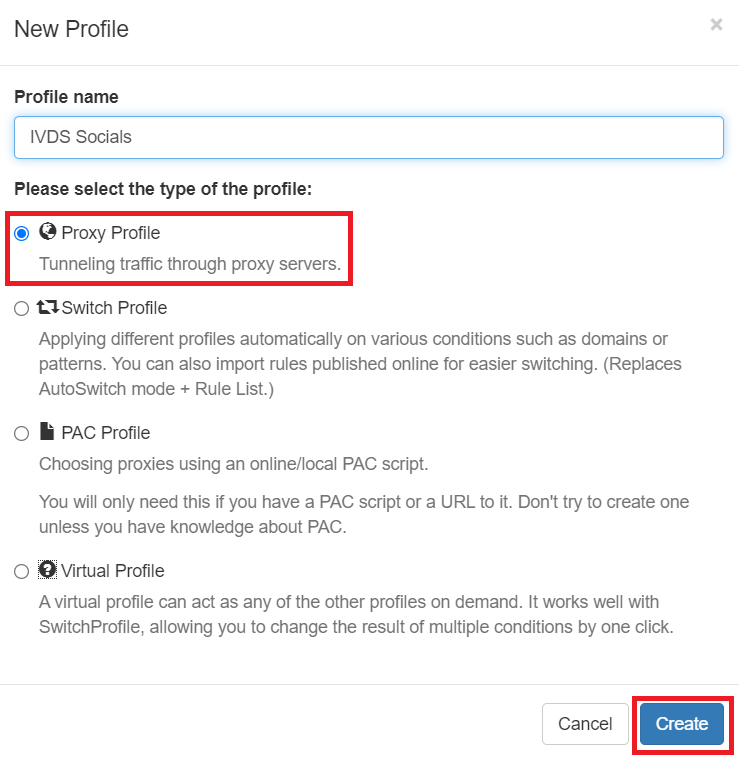
Proxy SwitchyOmega has an intuitive extension that makes managing proxies simple, even for beginners. With just a few clicks, you can create proxy profiles and switch between them effortlessly. Whether you're using a SOCKS proxy, HTTPS proxy, or another type, SwitchyOmega’s design ensures smooth configured proxy management.

Compatibility and Flexibility

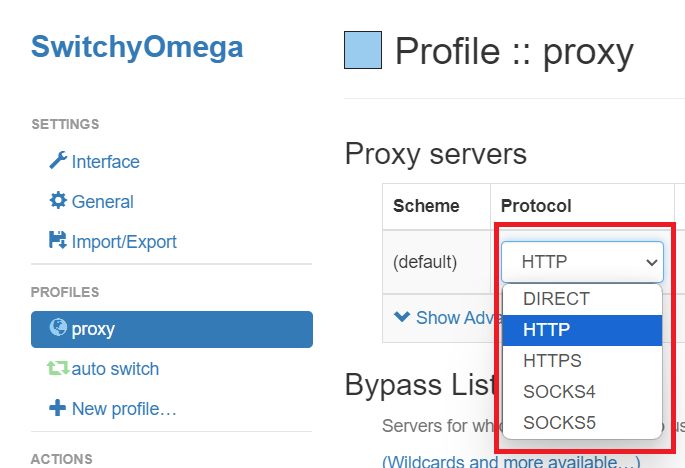
One of SwitchyOmega’s best features is its compatibility with HTTP, HTTPS, and SOCKS proxies, making it flexible for various online needs. It integrates smoothly with popular browsers like Google Chrome and Firefox, the latter is open source, providing a seamless experience across platforms.

Benefits of Proxy Rotation

SwitchyOmega works well when it comes to rotating proxies. If you’re engaged in activities like web scraping, social media management, or running bots, rotating proxies helps you stay anonymous and prevents IP blocking. This functionality keeps your tasks running smoothly while maintaining high levels of privacy and security.

How to Use Proxies with Proxy SwitchyOmega: A Step-by-Step Guide

Step 1: Install the SwitchyOmega Extension

Begin by searching for the SwitchyOmega extension in the Chrome Web Store or Firefox Add-ons. Once found, click on the SwitchyOmega and install it on your browser. Once installed, find the SwitchyOmega icon in your browser’s toolbar.

1.JPG

2.JPG

Step 2: Setting Up a New Profile

Create a new proxy profile by going to the left side of the dashboard, locating the “+New Profile” tab, and clicking on it. Name the profile based on the proxy you plan to use, making it easier to identify later. Choose the default proxy type and click the “Create” button to proceed.

3.JPG 4.JPG

Step 3: Selecting the Proxy Protocol

Choose the proxy protocol that best suits your needs. SwitchyOmega supports HTTP, HTTPS, and SOCKS (4 and 5) proxies. HTTP/HTTPS is ideal for general browsing, while SOCKS proxies offer more flexibility for tasks such as file transfers or running bots.

5.JPG

Step 4: Inputting Proxy Server Details

After selecting the protocol, enter your proxy server’s IP address and port number provided by your proxy provider. Double-check that all details are correct to avoid any connection issues.

6.JPG

Premium residential proxies

Unlock the full potential of the internet with our flexible Pay-As-You-Go billing, designed for every scale of usage with no hidden fees.